As powerful as the MacBook Pro already is, one of the best and quickest way of upgrading and improving performance is by increasing RAM. RAM, or Random Access Memory, can be imagined to be the size of your workspace or office table.
The bigger your RAM in bytes, the bigger your workspace, the higher the virtual quantity of documents you can work on at any one time, making you and thus the laptop more efficient.
Advertisement
Most normal sized laptops come with two slots of RAM to allow for this upgrade, and the MacBook Pro is no different. Over time, with software applications requiring more RAM to run, upgrading your RAM may be more a necessity than a luxury.
Buying and Upgrading RAM
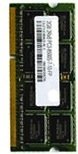
MACBOOK PRO 13″ RAM SPECS
All models listed below come with 2 memory slots with a base memory of 4GB at purchase, upgradeable to a maximum of 8GB. For best performance, both memory slots should be used, with an equal RAM module in each slot.
Mid-2009 and Mid-2010
PC3-8500 DDR3 SODIMM 1066 Mhz
67.6mm x 30mm (1.18″) – 204-pin
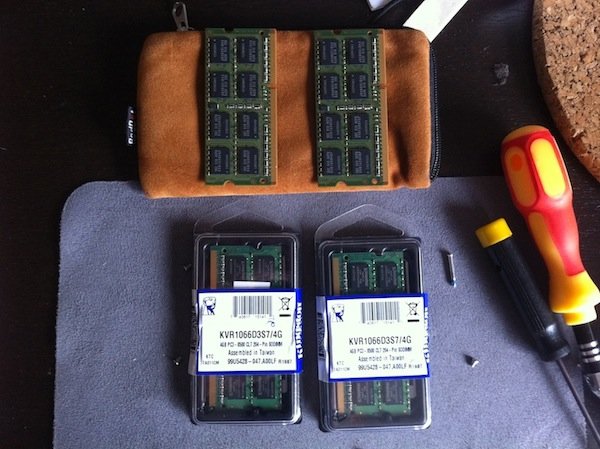
Early-2011 and Late-2011
PC3-10600 DDR3 SODIMM 1333 Mhz
67.6mm x 30mm (1.18″) – 204-pin
My mid-2010 MacBook Pro 13″ model came factory preinstalled with 4GB RAM upon purchase. Today, I will share with you how I did a RAM upgrade to its maximum of 8GB, and how easy it is for you to do the same.
With the recent falling of RAM prices, upgrades now make perfect sense as they become more accessible to laptop users.
The first step of course, is in identifying the correct RAM type for your particular model of laptop. For my mid-2010 MacBook Pro 13″ model, the RAM required is the 204-pin Double Data Rate Small Outline Dual Inline Memory Module type, or DDR SODIMM for short.
Depending on your MacBook model, the RAM type could be different. The maximum RAM which could be installed also differs from model to model.
See box inset at right to get the correct RAM for your MacBook.
Get It on eBay
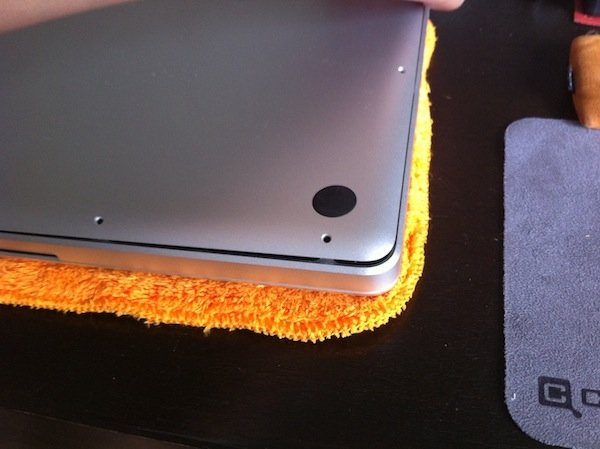
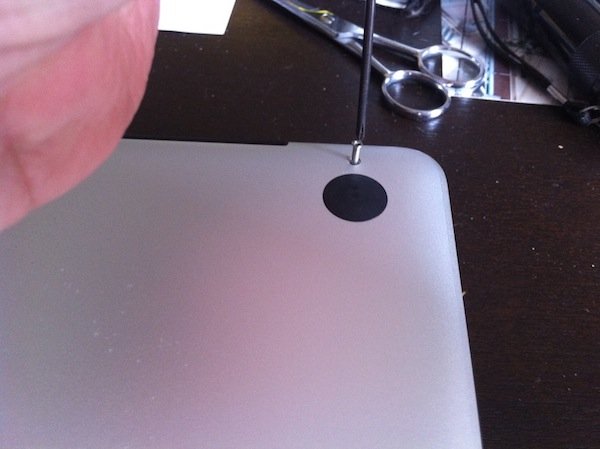
Assuming you have acquired the RAM for your MacBook, let’s get right down to business. If you had just use the MacBook Pro, ensure that it is first cool before you open the bottom panel, and discharge electricity from your body by touching a metal surface before you begin work.
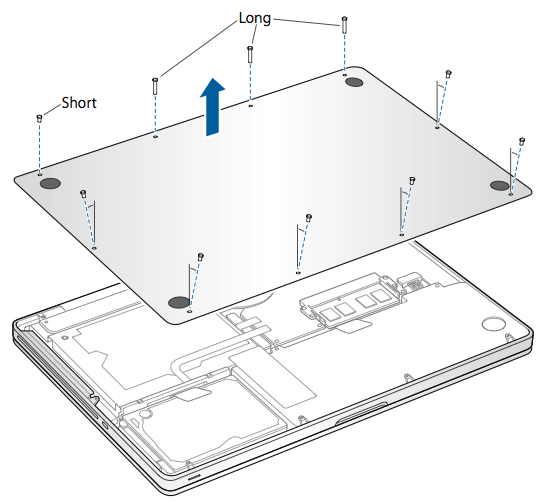
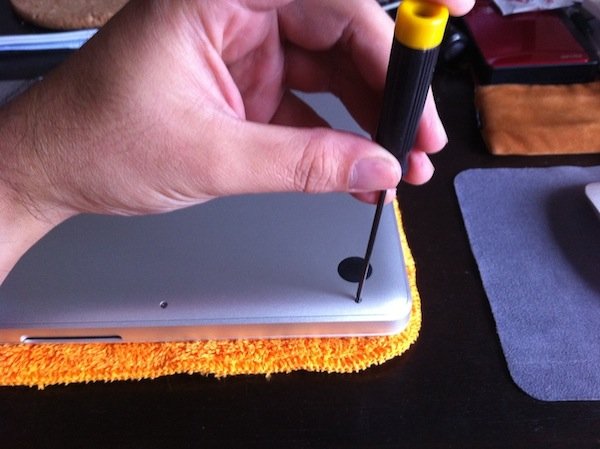
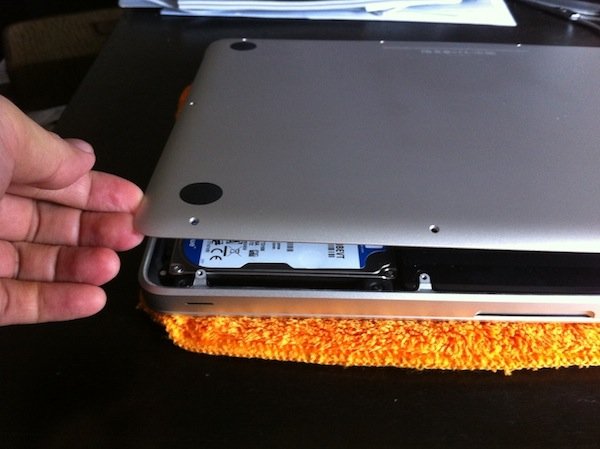
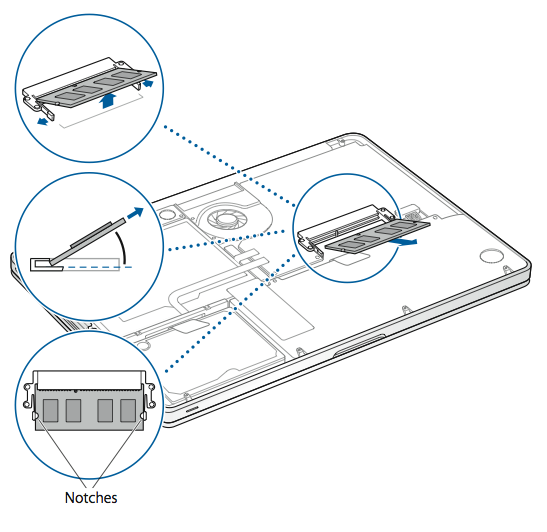
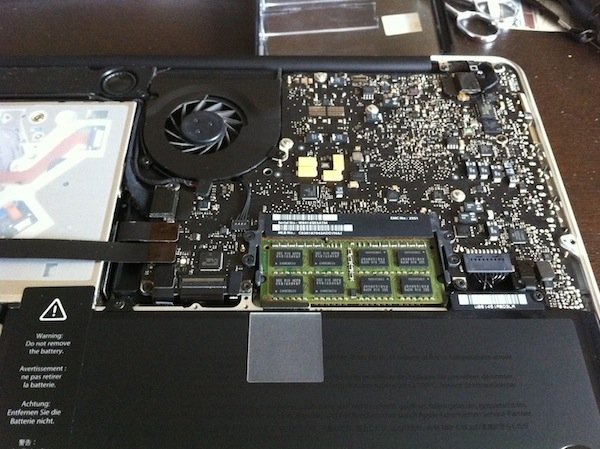
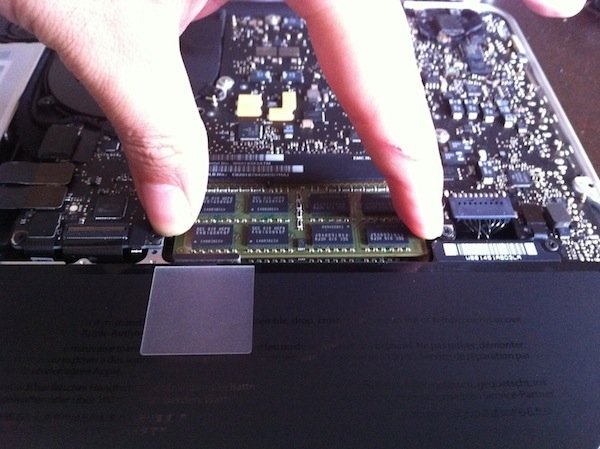
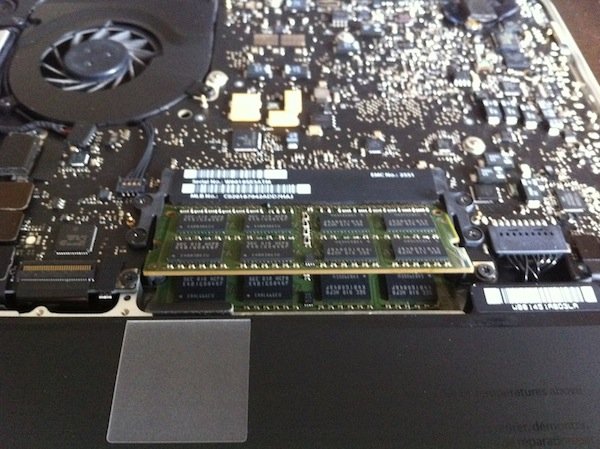
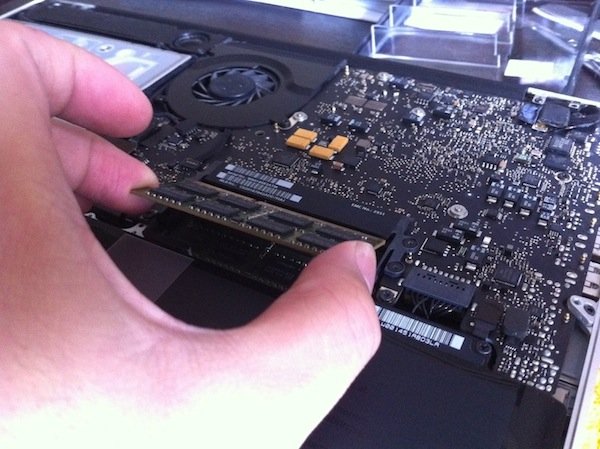
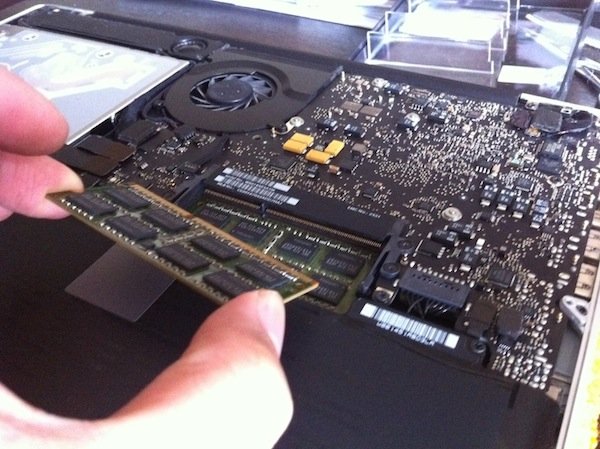
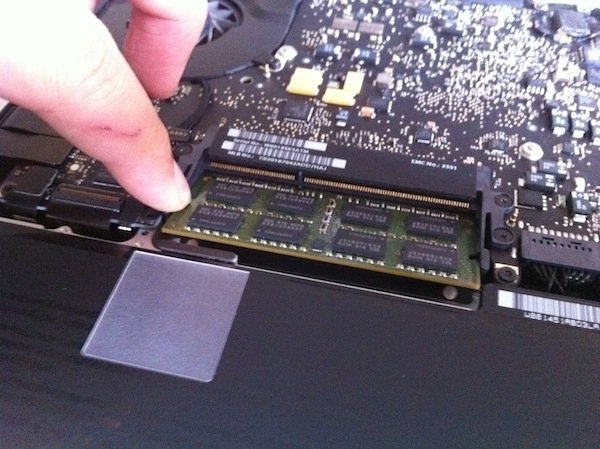
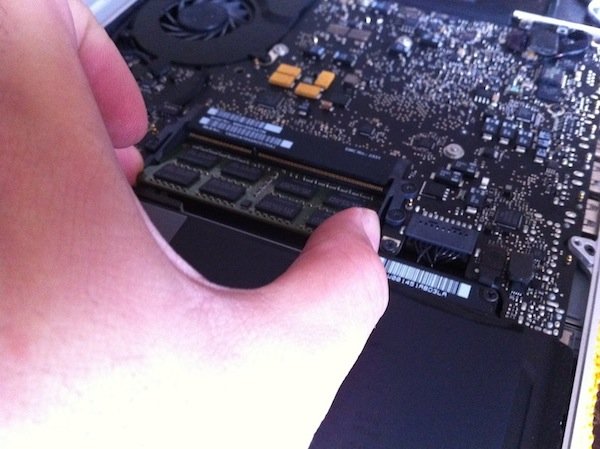
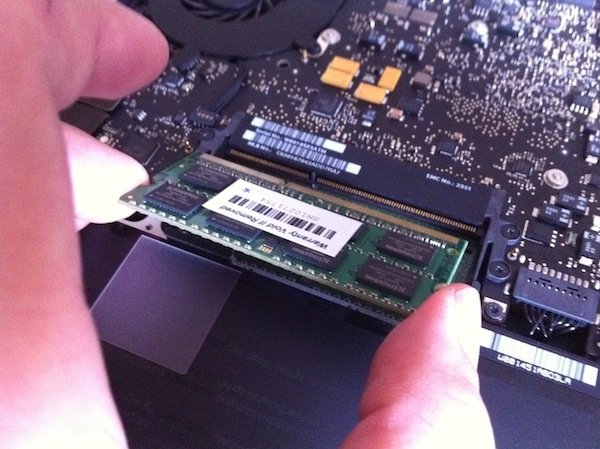
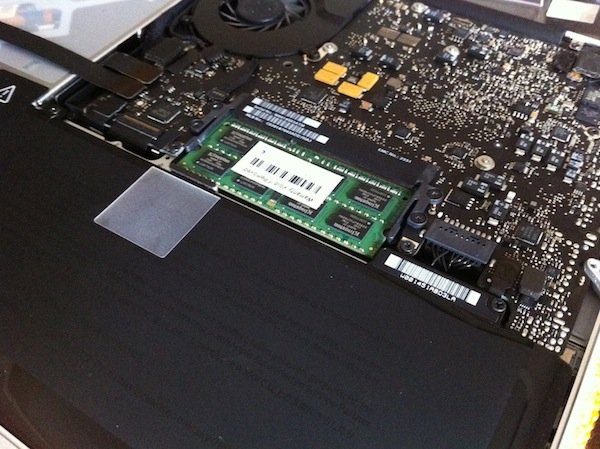
Refer to the diagram above to see where the short and long screws are, to be driven out before the bottom panel can be removed to gain access to the inside of the MacBook Pro.1. Turn the MacBook upside down on a soft cloth and remove all 10 screws. 3 of the screws are longer than the other 7, so you’ll have to remember where the 3 longer screws go to on the reassembly.2. Lift the bottom panel up and remove from the MacBook Pro casing.In the following sequence, we will remove the RAM as summarised in the diagram above. Discharge static electricity from your body by touching a metal surface before you touch anything inside the MacBook Pro.3. The RAM stands out quite clearly from the rest of the hardware components – it’s easy to spot the bright green printed circuit board with, to put it quite simply, 8 small black square blocks on it. Right in the centre of the photo above.4. Remove the RAM by pulling apart the holder on both sides. The RAM is actually held down by a little spring action by this holder. The RAM will prop itself up at an angle after you do this.5. With the RAM propped up, you can see another RAM below it, if you have two pieces of RAM installed. This MacBook Pro originally came with a single 2GB RAM, which I had earlier upgraded to 4GB by adding 2GB RAM in addition to the 2GB that came preinstalled at factory.6. Gently pull the first RAM out from its pin holder. You may need to rock it from side to side a little while tugging it out at the same time.7. Pull the first RAM out and put it aside safely. We will now remove the other RAM below it.8. Do the same with the second RAM and pull the holder apart as we did for the first RAM earlier. The RAM will prop up at an angle like the first.9. Pull the second RAM out in the same way as we did the first.10. Put both the old RAM aside and remove the new RAM from their packaging. In this exercise, I have removed 2 nos. of 2GB RAM, to be replaced with 2 nos. of 4GB RAM, effectively upgrading from 4GB to the maximum of 8GB for this MacBook Pro model.11. Slip the new RAM into the pin connector slot first at an angle, and then push it down in place to a click into its holder, all in the reverse order in the way the old RAM was taken out.12. Do the same with the second 4GB RAM, making sure all RAM are in their holders snugly. If your RAM comes with a warranty sticker as shown above, it is probably best to leave it on.13. Finally, replace the bottom panel…14. …and drive in all the screws, noting where the long and short screws should go into. Refer to the very first diagram all the way above if you don’t remember.15. Turn on the MacBook Pro, log into the OS, click on the Apple logo on the menu bar at the top left of the screen and on the drop-down menu, choose About This Mac. On the window that appears after this, check that the new RAM has been registered correctly – in the case above, 8GB. Enjoy the new efficiency!