Installing a ceiling fan seems like an intimidating task. A few questions usually come to mind: “Can I really DIY this?”, “What if it doesn’t work”, “Will I wreck something along the way?”, “Will the fan fall off the ceiling on my head?”, and a host of other questions.
Truth is, we often don’t even get to the point of asking questions, and just give up at the mere thought of installing ceiling fans. Well, the truth is, it is not that difficult.
Today I will present a photo guide showing how a ceiling fan can be easily installed. By yourself.
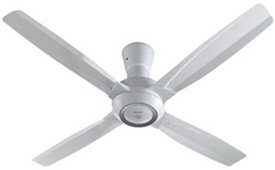
If you’re wondering why this article title specifically states the brand Panasonic, it is because Panasonic ceiling fans are quite easy and straightforward in its installation similar to most other modern brands in the market such as National and KDK. Hence, if the ceiling fan you are installing falls in this category, the following step-by-step guide will be applicable.
We will assume that your ceiling is pre-fitted with a ceiling fan hook. If not, this is quite easily done with a drill and an anchor bolt hook set.
For the exercise below on how to install a Panasonic Ceiling Fan, you will only need a pair of pliers, an adjustable spanner, a Phillips screwdriver and a test pen. Let’s begin.
Preparing and Assembling the Components
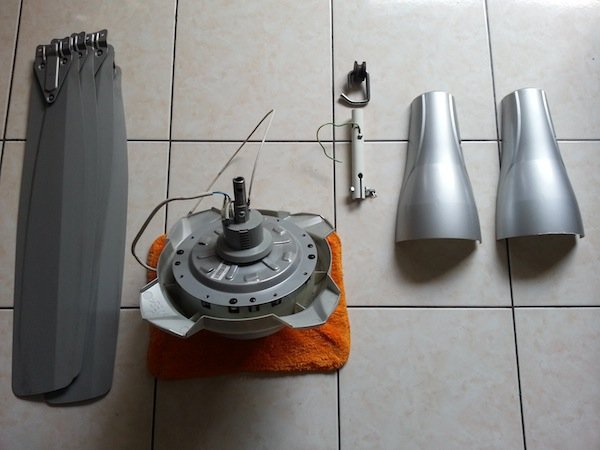
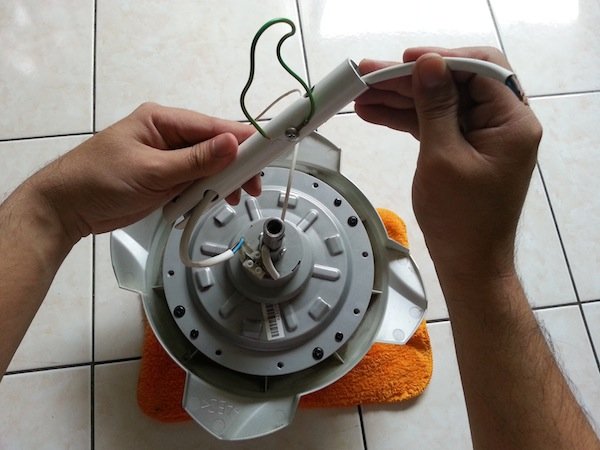
1. Prepare the components prior to fan assembly. Note the major items from left to right: 4 fan blades, motor assembly, hanging rod, rubber spool with hanger bracket, and 2-piece rod cladding. An included remote control is not shown above. NOTE: Place the motor assembly on a soft cloth while working to prevent scratches and damage to the underside plastic surface (IR receiver).2. First, run the power cable from the motor assembly all the way through the hanging rod. Note the hole on the hanger rod through which the cable should be run through.3. Install the hanging rod to the motor assembly with the bolt, flat washer, broken-ring washer, nut and pin. Note the order. Push the pin through the hole at the end of the bolt and bend one prong as shown above. NOTE: If the bolt was pre-installed on the rod, you will first need to remove it by straightening the two prongs on the pin together and removing it from the bolt with a pair of pliers, and then remove the bolt from the hanging rod.4. Insert the hanger bracket through the hole at the upper end of the hanger rod as shown.
Advertisement
Hanging the Assembly onto the Ceiling Hook
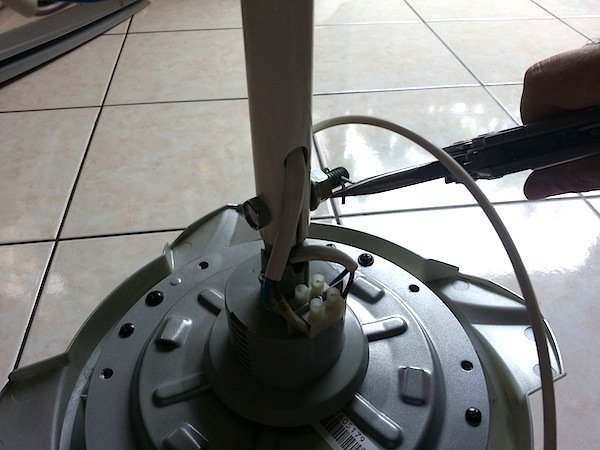
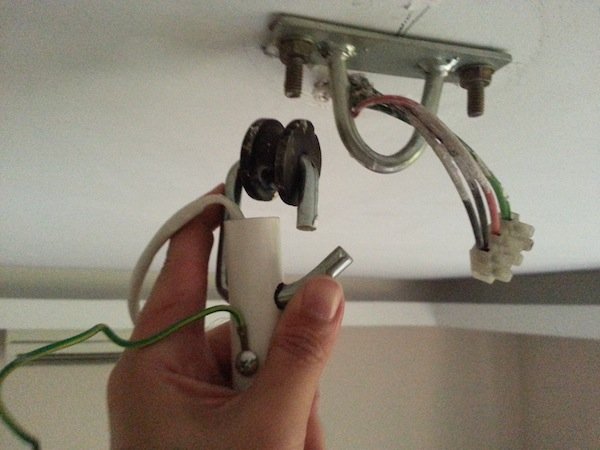
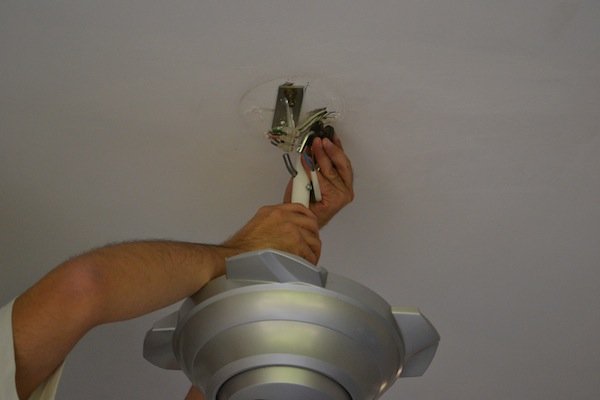
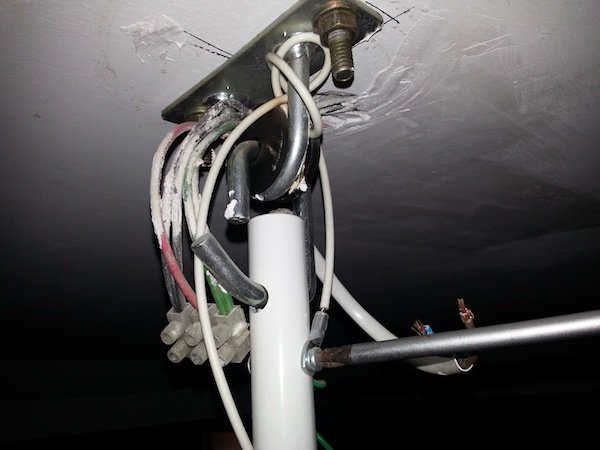
5. Before doing anything, first ensure that the power supply to the ceiling point is turned off. To be doubly sure, you may use a test pen to see that the live wire does not carry any current. Next, check that the hook is secure by tugging it with your finger, making sure that it is neither loose nor rocking. Grab the hanger rod with motor assembly and mount the black rubber spool onto the ceiling hook. See the following photo.6. Hold the hanger rod with your stronger hand, and guide the black rubber spool onto the ceiling hook with your weaker hand. Beware, as the motor assembly is quite heavy and you will need quite a strong arm to hold the hanger rod and the motor assembly steadily in place.
Securing the Safety Cable
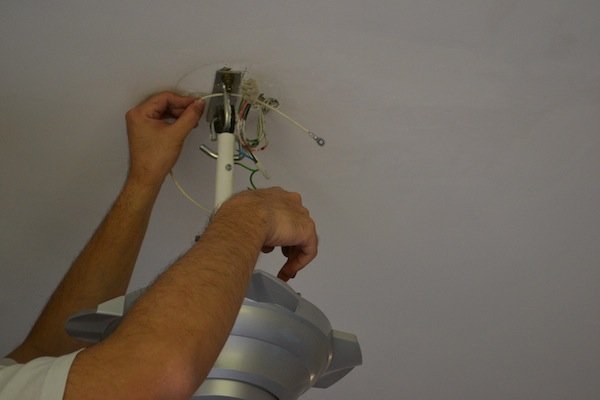
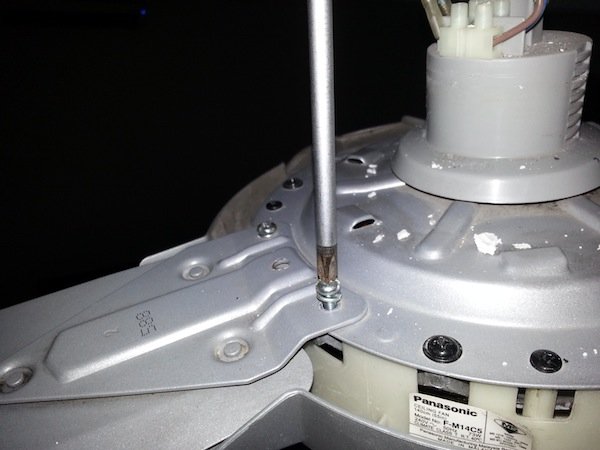
7. Run the attached safety cable from the hanger rod through the ceiling hook.8. You may follow the knot illustrated in the instruction manual, or figure a secure knot of your own if you’re good with knots.9. Screw the end of the safety cable through a hole on the hanger rod with the screw provided. It would help to imagine at this stage that in the unlikely event that the fan should fall, if the knot would hold the fan onto the ceiling hook.
Connecting to the Mains Power Supply
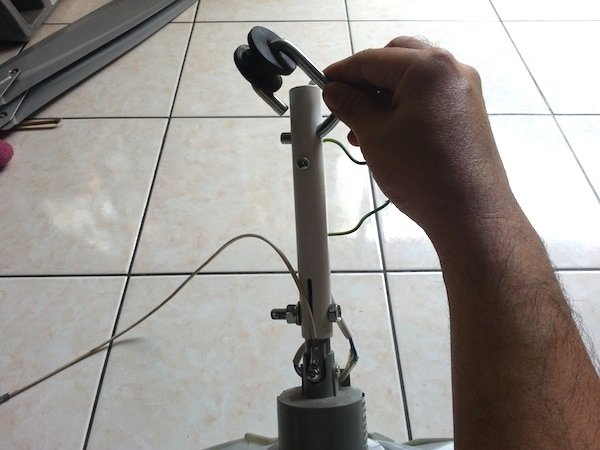
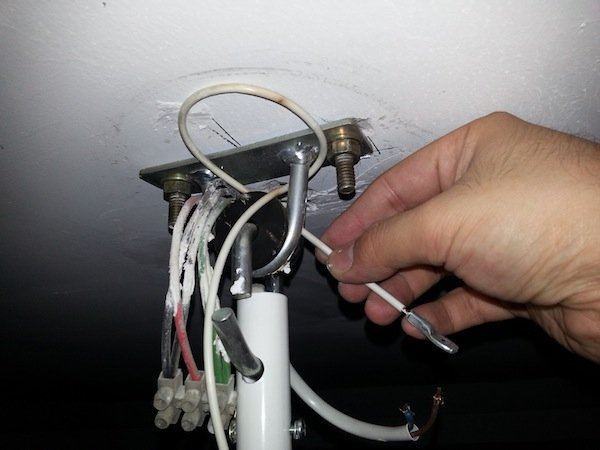
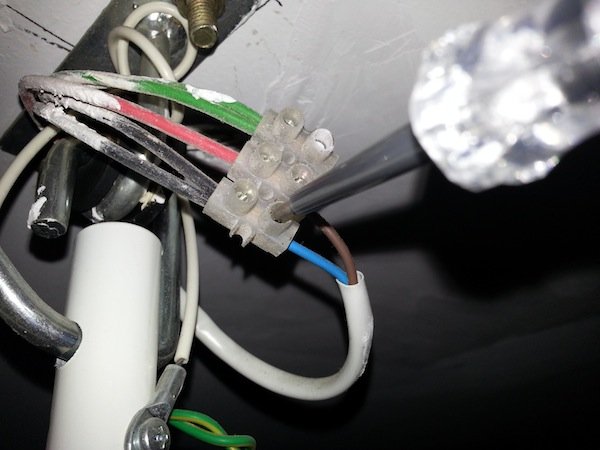
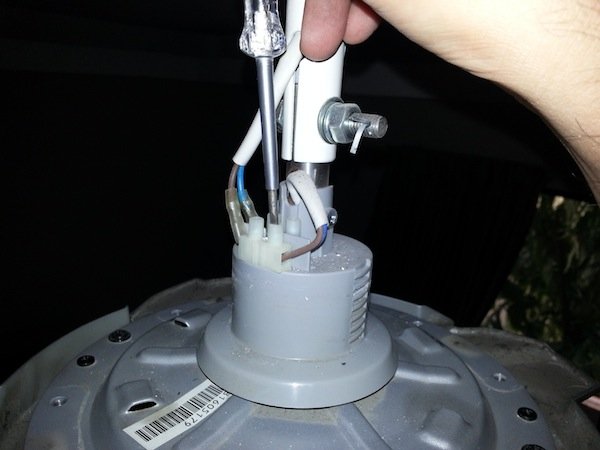
10. Next, connect the fan electrical wires to the power supply wires from the ceiling. You should be familiar with your country’s building electrical cable colour codes for this. Notice that in Malaysia, there are a few variations to the colour code for live and neutral. In the photo above, the colour for live and neutral are red and black respectively on the mains power supply, and brown and blue respectively on the ceiling fan wires. As shown, connect the brown to the red for live, and the blue to the black for neutral.11. Complete the electrical wiring by connecting the fan’s green/yellow earthing wire from the hanger rod to the mains green earthing wire on the ceiling. Here, the test pen is used to screw down on the wires within the connector block. The plastic connector block seen here is commonly used in my country, but in the US and elsewhere, wire nuts are more commonly used. Either one is OK.12. Optional: The brown and blue wires on the motor assembly should already be connected here out of the box. If it is not, just make sure the same colour wires are connected through the connector block. This one is easy peasy lemon squeezy – brown goes to brown, and blue goes to blue.
Bladeless Fans on eBay
Installing the Fan Blades
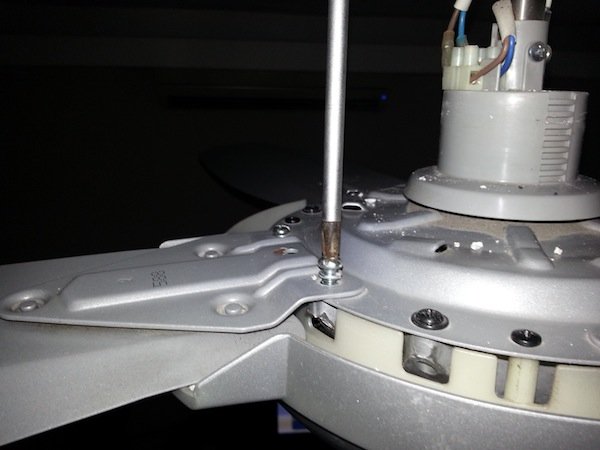
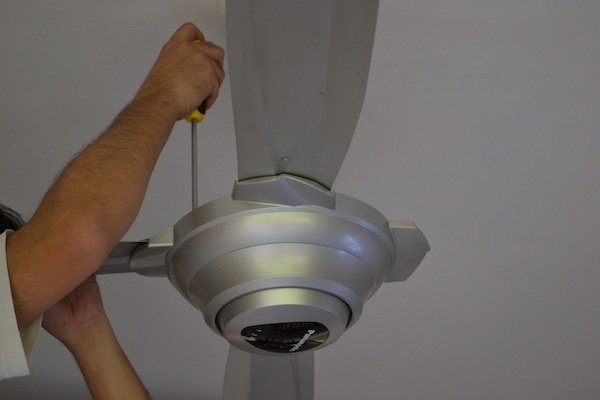
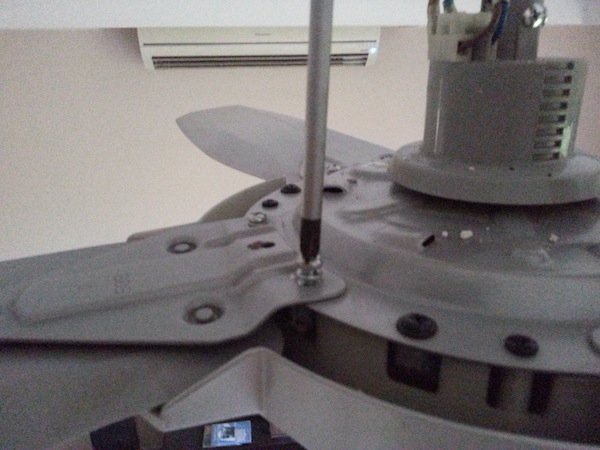
13. Now we will start by installing the fan blades. Depending on the model of your ceiling fan, each fan blade shall be attached and secured to the motor assembly by means of 2 or 3 screws. For most models including the one above, only 2 screws will be required. Make sure the washer (the small metal ring between the screw head and fan blade) is in place, as shown above. Ensure that the screw is driven down hand tight. At this point, the whole fan assembly will be tilted down to the side of the installed fan blade due to the off-centre point of gravity caused by the weight of this single fan blade. NOTE: These screws and washers are usually not packed separately but are found screwed at their rightful place on the motor assembly; so don’t dig through the box looking for these screws.14. Install the second blade on the opposite side of the first blade, to bring the fan assembly balance back to equilibrium. I don’t think there is a need to do this, but there is no reason to do it another way, why not.15. Proceed to install the third blade in the same fashion…16. …and finally the fourth and last fan blade. Once that is done, gently rotate the blades with your hands, allowing them to rotate freely about the fan’s axis, and see if the rotation is regular or wobbly. Even if it is wobbly at this stage, you do not need to do anything just yet. Hopefully it is regular and smooth, which would allow you to enjoy the success of your installation thus far!
Cladding and Concealing the Hanger Rod
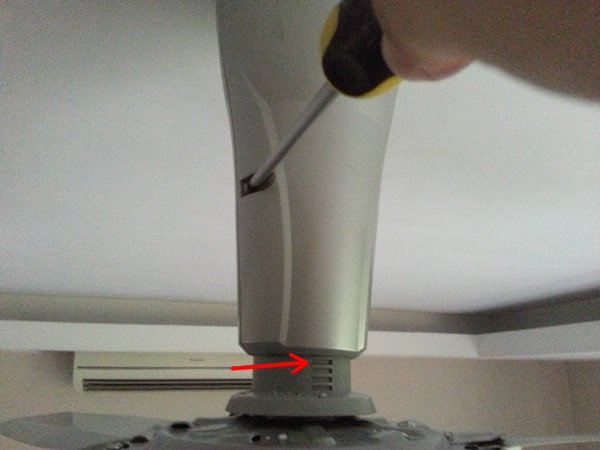
17. Finally, install the 2-piece cladding together around the hanger rod via screws on both sides. You will notice some guide notches on the motor assembly, for the purpose of installing the cladding at the correct height. The correct guide notch to use is…18. …dependent on the space to the ceiling soffit above. There should be a one-finger gap between the cladding and the ceiling, to allow for minor tolerances so that the cladding does not touch the ceiling at all during fan movement.
Completing and Testing the Ceiling Fan
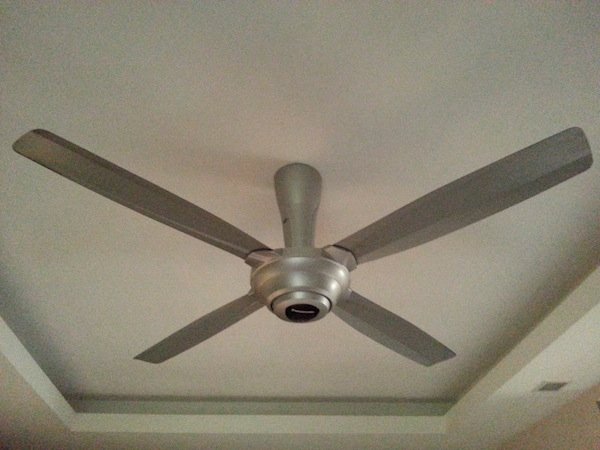
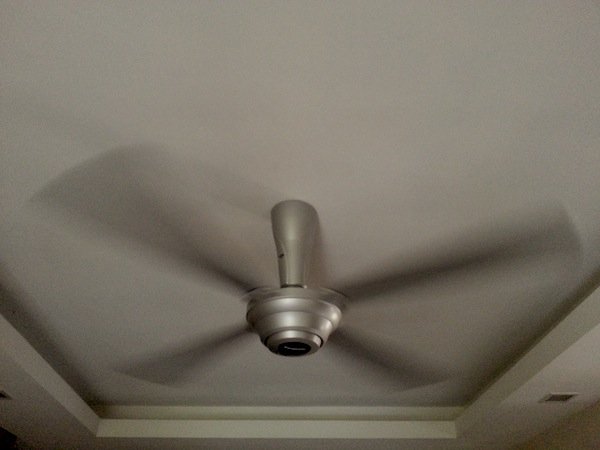
19. Here is the ceiling fan fully installed and completed.20. Turn on the fan and check for wobbling. If it wobbles, fret not – this can be expected sometimes. There is nothing really wrong with your installation. More than half of the fans I have installed spun smoothly on the first attempt. If it wobbles, simple remove blade no.3 and swap with blade no.4, i.e. adjacent blades. Usually the first change will solve the problem. If it doesn’t, try other combinations, until the wobble is fixed. Well, no wobble on first attempt for the fan above. Enjoy the breeze!
 Installing a ceiling fan seems like an intimidating task. A few questions usually come to mind: “Can I really DIY this?”, “What if it doesn’t work”, “Will I wreck something along the way?”, “Will the fan fall off the ceiling on my head?”, and a host of other questions.