Due to the lack of information online about the Ozito Stud Detector, I decided to put out a review of this device based on my use experience.
I flew to Melbourne and stayed there for a month recently to help my mother out with some renovation works on her new home, and although I had brought most of the power tools I needed from home, I had forgotten one other important tool – the Bosch DMF 10 Zoom Professional Wall Detector from my collection of measuring devices.
On one of my first visits to Bunnings during my first week there, I looked at some wall stud detector offerings at the store. I was looking for something that didn’t cost too much. At about AUD40.00, one brand and model caught my attention, and that was the Ozito Stud Detector.
Before buying something new, I would normally do a little research online. I usually check for three things: features, reviews and price.
Problem was, for the first time, I couldn’t find any reliable information online, especially on reviews by others who have used this product before.
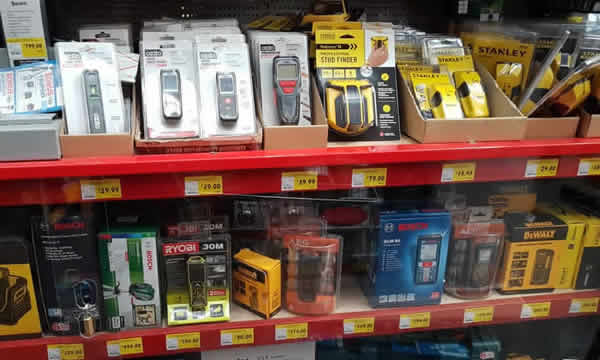
I did however find many reviews on the Stanley models, which more than a few didn’t leave a good review. Crossing that off my shortlist, I instinctively felt that the Ozito Stud Detector model SDR-050 was a good product that would meet my needs.
I’ve often trusted my gut instincts, and this was one of those times – I bought the Ozito Stud Detector.
Since there isn’t a lot of information online regarding this wall stud detector, I thought I’d share some of my thoughts and experience in using this product, and hopefully it will be of some help to those who are deciding whether to buy one too.
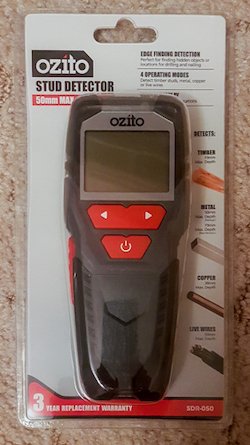
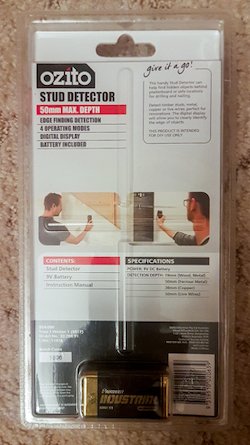
Product Packaging and Included Items
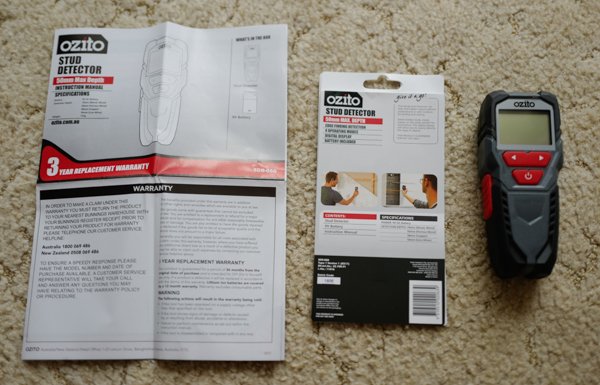
If you have misplaced your instruction manual, you may download a pdf copy of the Ozito SDR-050 Stud Detector Instruction Manual.
Features and Specifications
- Width: 106mm
- Height: 220mm
- Depth: 50mm
DETECTION DEPTHS
- Wood / Metal: 19mm
- Ferrous Metal: 50mm
- Copper: 30mm
- Live Wires: 50mm
Before I unpack the Ozito Stud Detector, allow me to briefly run through some of its features and specifications:
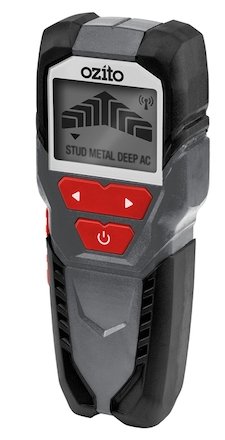
- 4 Operating Modes
The Ozito Stud Detector detects four different types of hidden materials to various depths, as given on the right. - Edge Finding Detection
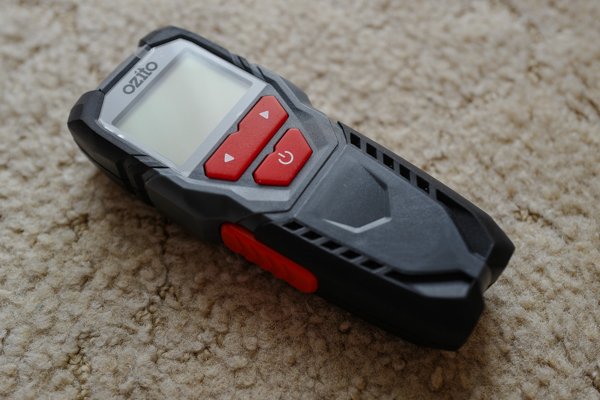
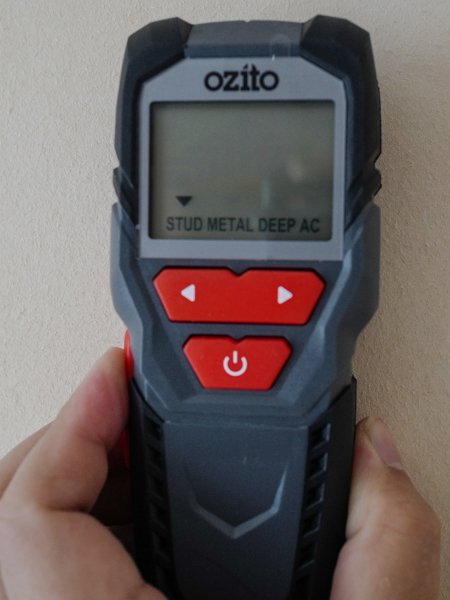
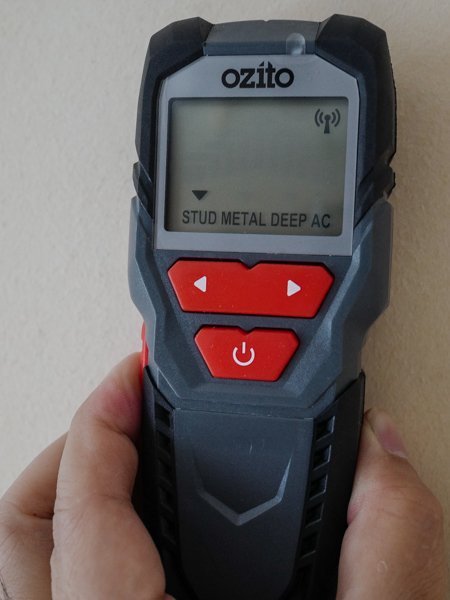
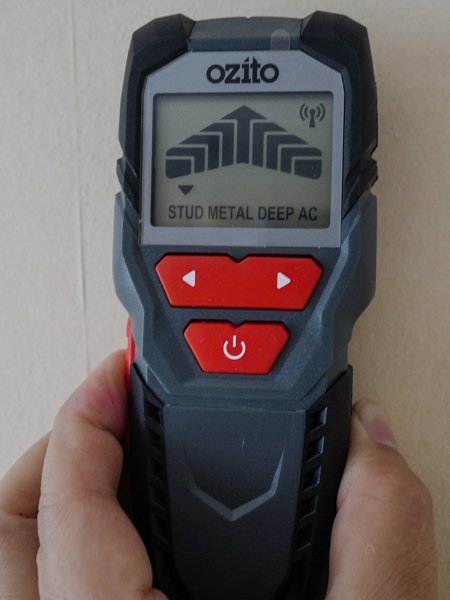
The device detects and indicates the left and right edges of studs and other materials hidden behind the wall. - Digital Display
The Ozito Stud Detector has a digital display that provides visual cues as the device is approaching and leaving the edges of the stud. - Marking Notch
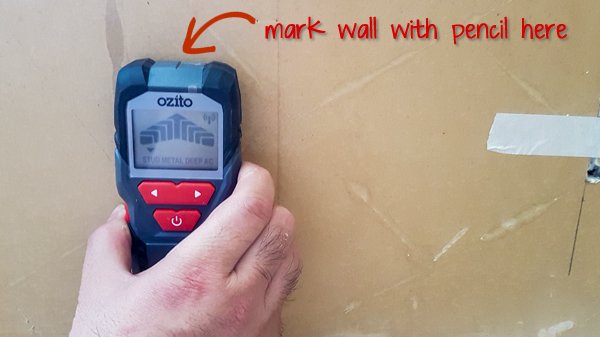
The marking notch at the top of the device allows you to mark the position on the wall with a pencil where the edge of the stud is as indicated on the digital display.
The Ozito Stud Detector SDR-050
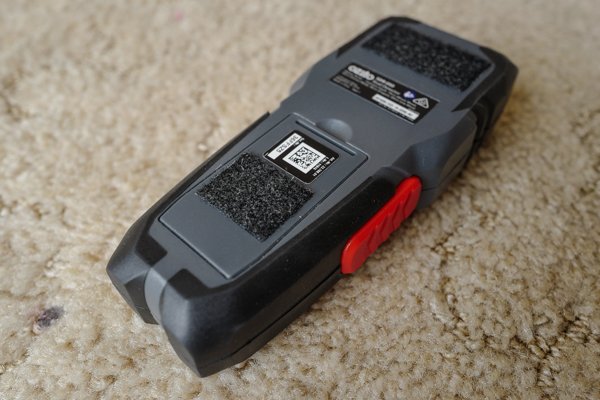
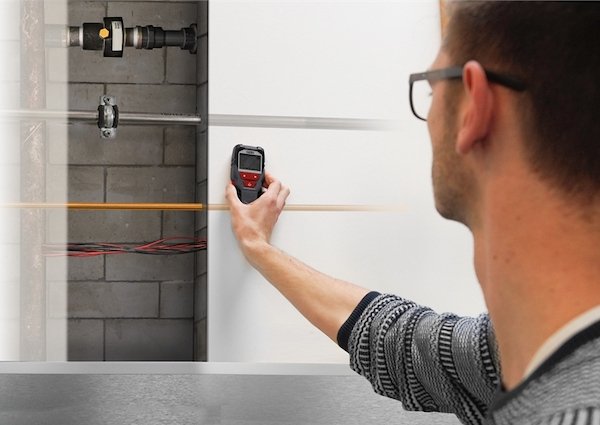
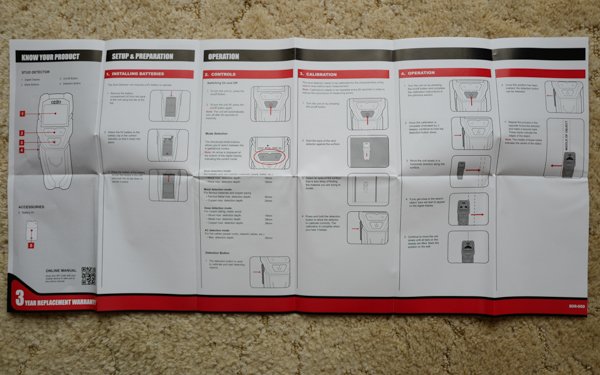
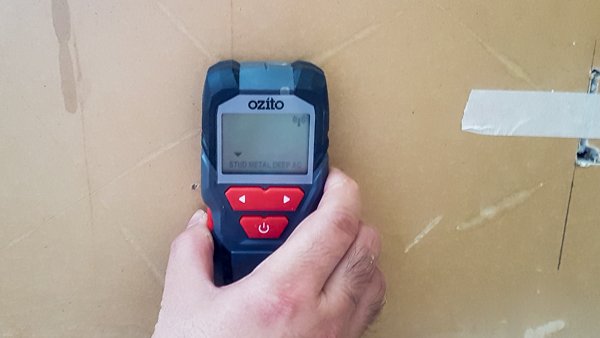
Using the Ozito Stud Detector
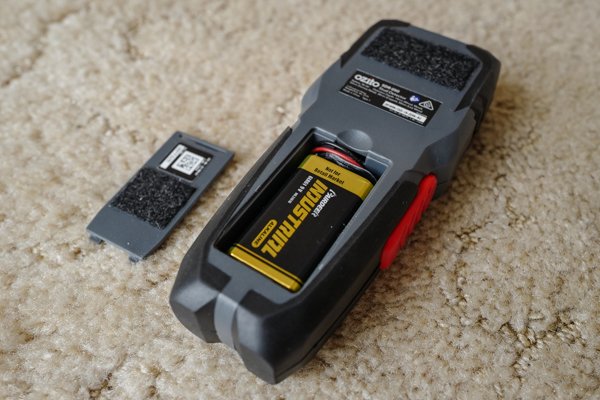
The Ozito Stud Detector runs on a 9V battery, which is included in the package.
One thing I quickly found out when using the Ozito Stud Detector, which some may have missed (especially if you skipped reading the instruction manual like I did), is that the device requires calibration at each start of detection.
Some people who miss this step may find the device not working as intended, and falsely blame the stud detector to be faulty or inaccurate.
Doing this is simple:

Conclusion
The Ozito Stud Detector is an Australian-brand product and is carried exclusively by Bunnings Warehouse. At least that was the impression I got, as I have not seen this sold elsewhere. I bought it for AUD39.99 and for that price, it worked beautifully.
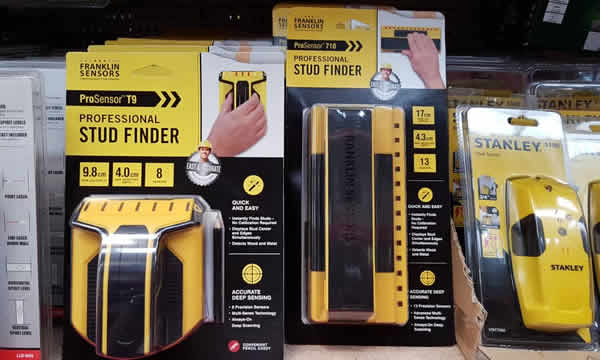
It may not have the higher resolution of detection of the 13-sensor detector made by Franklin Sensors (see image below), but at less than half the price and with a tolerance of a few millimetres on both sides of the stud edges. it is highly usable and will get the job done effectively.
I used it extensively in my mum’s house renovation works, which included searching for studs to mount a 55-inch flat panel LCD TV on the partition wall, and other drilling work on the same wall and plaster ceiling.
It helped a great deal I was able to determine where the wall studs and ceiling battens were in each and every drilling attempt, and took out what would otherwise have required constant tapping, a keen hearing and a lot of guesswork.
I bought the Ozito Stud Detector SDR-050 as a temporary solution to replace my Bosch Wall Detector that I had left back at my home country, but honestly, this temporary device is actually good enough to be a permanent one.