Replacing PC Motherboard Battery

You’re using your PC and you find that the time and date at the bottom right of your monitor aren’t those of today. You open up your favourite internet browser (Internet Explorer, Google Chrome, Mozilla Firefox etc.) and find that there is a security certificate problem with a message such as the following:

There is a problem with this website’s security certificate. The security certificate presented by this website was not issued by a trusted certificate authority.

Security certificate problems may indicate an attempt to fool you or intercept data you send to the server. We recommend that you close this webpage and do not continue to this Web site.

This is usually due to the computer’s clock being reset to a date or time which is later than the expiry date of the web server’s SSL certificate.

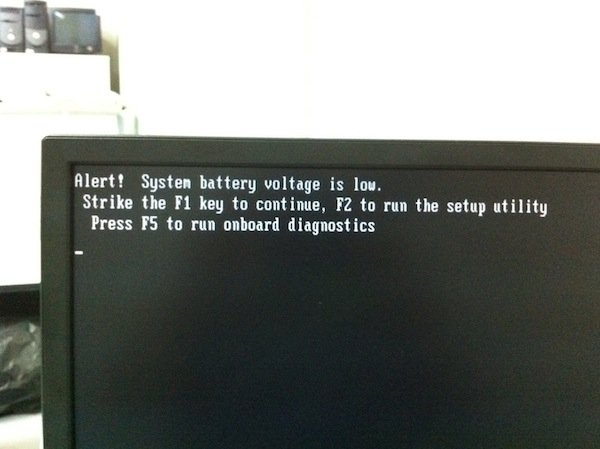
If you have used computers for a long time, chances are you would have come across an alert on the monitor upon startup indicating that system battery voltage is low, such as the one shown below.

Advertisement

Low System Battery Voltage Warning

system battery voltage is low
A low system battery voltage situation usually requires a replacement of the CMOS battery on the motherboard.

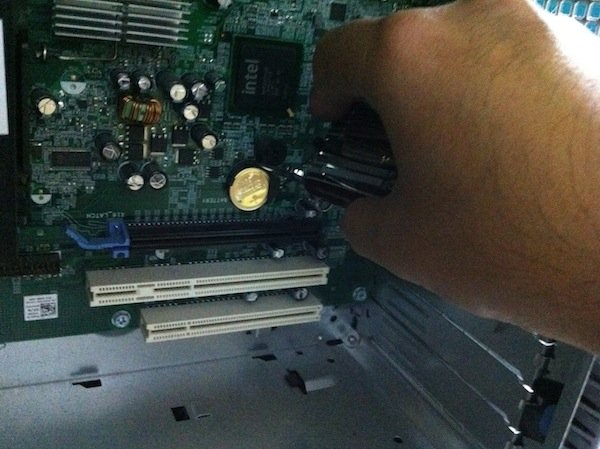
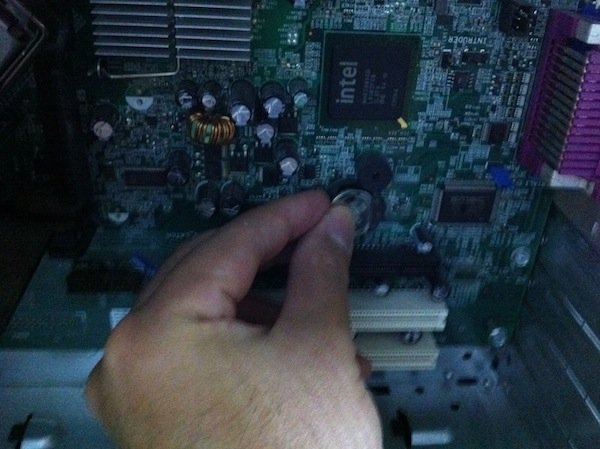
Replacing PC motherboard battery is a simple procedure. Let’s go right ahead and replace the system battery.

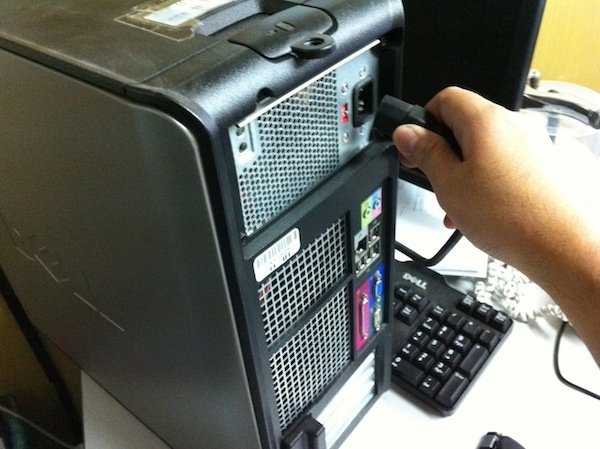
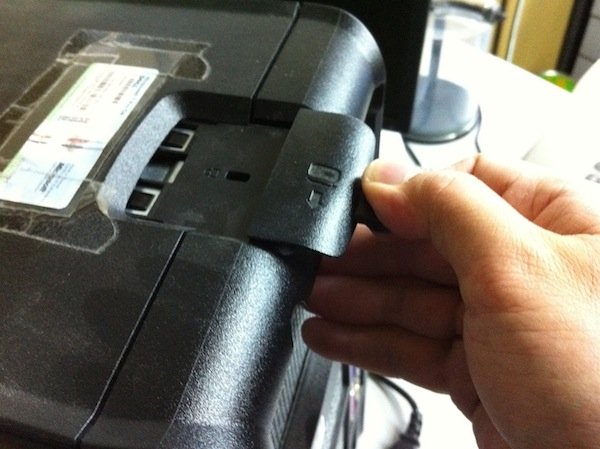
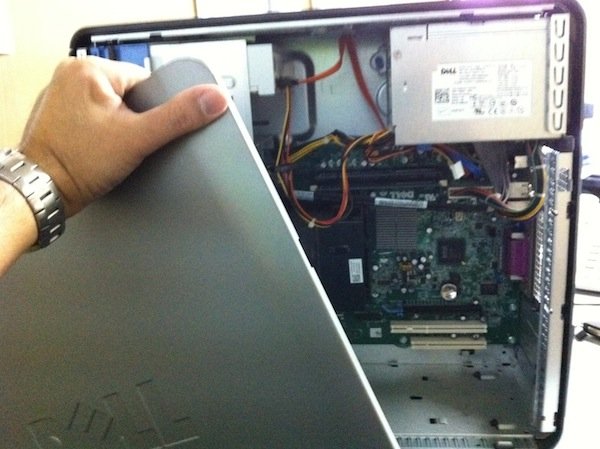
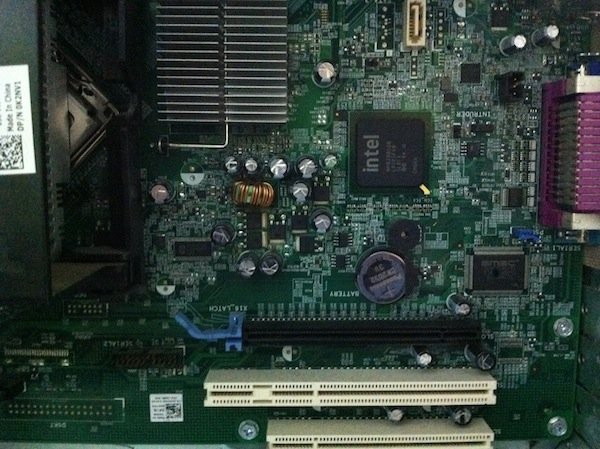
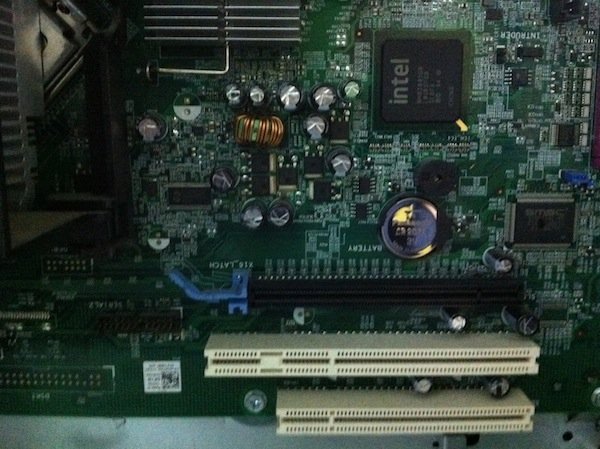
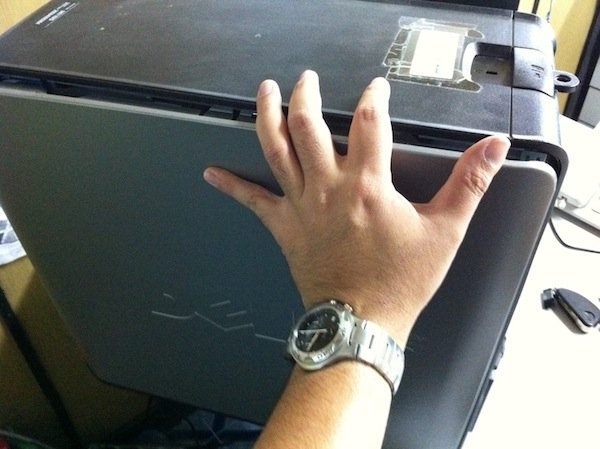
Replacing PC Motherboard Battery in a Dell PC Tower

unplug computer
1. First, detach all cables from the rear end of the PC such as for the mouse, keyboard and printer, and most important of all, make sure to unplug the power cord as shown above. Do not just turn off the computer.
replacing pc motherboard battery
2. Refer to your PC’s manual for the correct way to open up your PC, assuming there are no longer warranty issues to be concerned about. In the case of the Dell that I am working on, there is a catch that needs to be released before the side panel could be removed. Usually, it is just a series of screws at the rear that needs to be removed.
replacing pc motherboard battery
3. Slide open and remove the side panel. Locate the motherboard, which looks something like the big green flat surface of electronic components staring at me in the photo above.
antistatic wriststrap
An antistatic wriststrap in use

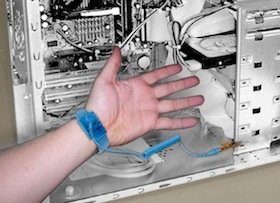
IMPORTANT: BEFORE PROCEEDING FURTHER AT THIS POINT, BE SURE TO DISCHARGE STATIC ELECTRICITY FROM YOURSELF OR YOU MAY RISK DAMAGE TO WHAT YOU’RE GOING TO BE WORKING ON NEXT. THE BEST METHOD IS TO USE AN ANTISTATIC WRISTSTRAP SUCH AS THE ONE SHOWN AT RIGHT. HOWEVER, MOST OF US DO NOT HAVE ONE OF THESE LYING AROUND AT HOME AND SO, YOU MAY ALTERNATIVELY TOUCH A GROUNDED METALLIC OBJECT OR UNPAINTED METAL SURFACE OF YOUR PC CHASSIS. DO THIS AT REGULAR INTERVALS TO ENSURE THAT THE POTENTIAL BETWEEN YOU AND WHATEVER YOU’RE WORKING ON OR TOUCHING IS ZERO.

Get It on eBay

replacing pc motherboard battery
4. Look at the motherboard closely and you will see a single flat cell battery that resembles a coin seated neatly somewhere. Identify the battery type – it could either be a CR2016 or CR2032. Be sure to obtain the correct lithium ion battery type.
replacing pc motherboard battery
5. Pry or slip the battery out with finger, or if you find that difficult, use a flat tip screwdriver for leverage. Be careful not to break any parts holding the battery in place, such as the plastic battery holder on the motherboard.
replacing pc motherboard battery
6. The CMOS battery for the PC I worked on was a CR2032. Be sure to buy a brand new one of the exact same type. The other one commonly used is CR2016, so do check what is on your PC motherboard before going out to buy one.
replacing pc motherboard battery
7. Insert the new lithium ion battery into the plastic battery holder on your PC motherboard.
replacing pc motherboard battery
8. Ensure that the new battery is seated firmly in place. Tap or press on it gently to make sure it is not rocking in its place.
replacing pc motherboard battery
9. Replace the side panel of the PC. In my case, the catch mentioned in Step 2 above needs to be pulled out before the side panel can be replaced properly.

10. Turn on the PC and check that the low system battery voltage alert no longer shows. The computer should now be running fine.

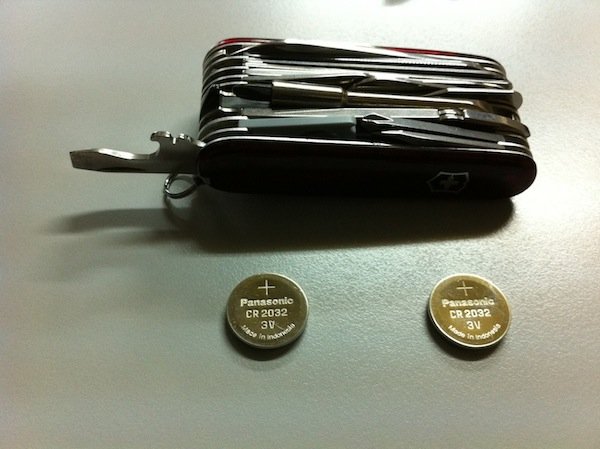
WARNING: BEFORE BUYING ANY BATTERY BELOW, PLEASE FIRST OPEN UP YOUR PC CASING TO CHECK THE BATTERY TYPE IN USE, AND MAKE SURE THAT YOU PURCHASE THE CORRECT TYPE BELOW. THE BATTERY TYPE COMMONLY USED ARE CR2016 AND CR2032, BUT THE ONE ON YOUR PC MOTHERBOARD COULD POSSIBLY BE DIFFERENT FROM THESE AS WELL.

OTHER COMPUTER HARDWARE FIXES:

CR2016 CELL BATTERY – choose only one!


CR2032 CELL BATTERY – choose only one!


Subscribe
Notify of
guest

This site uses Akismet to reduce spam. Learn how your comment data is processed.

0 Comments
Inline Feedbacks
View all comments
devonbuy.com